
Angler Fish: Day 1 & 2
Yep... doing another fish, not cause I am particularly partial to fish, but because they are so weird, especially the fish I'm doing. Look up "Angler Fish" and see what I mean.
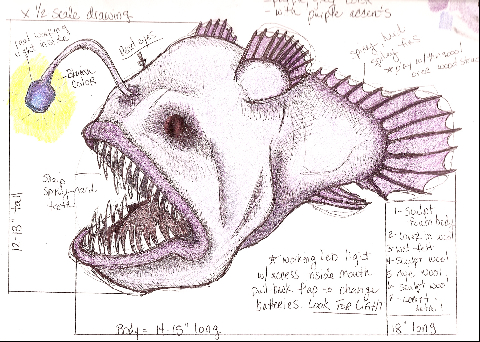
This isn't a very good scan of my concept drawing (it looks better in real life, I'll have to fix it) but you can see where I'm going to eventually end up with my sculpture. I like to plan most everything out before I start. I'm planning on adding some electronic parts & LED lights to help illuminate the "fishing rod" part on his head.
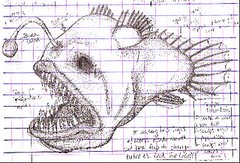
I then took a B&W copy of the drawing and drew a scaled grid on top. This helped me plan out what sizes of foam I needed to cut for the solid foam base I am going to use. I wanted to make this guy big, so instead of felting a solid wool inside, I'm using a foam base, then felting over it. I think this process will let me make bigger projects.
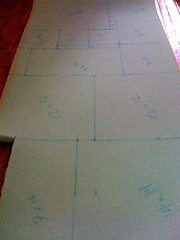
Now I plotted all the different layers of foam I need to cut from the upholstery foam I got at Joann's. It's 1 inch foam, so that's why the grid was helpful to see the layers.
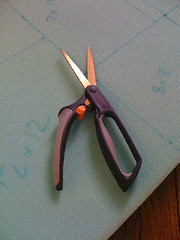
I'm very excited about the new scissors I bought. They are the spring-loaded kind that cut through the foam like butter. They will hopefully help with hand fatigue and blister forming.
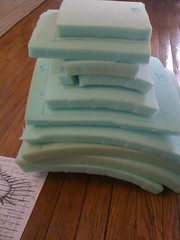
All the different layers ready to glue together. I also used the drawing to help plot out where I needed to glue the pieces. They aren't all lined up on top of each other. So I measured where the layers fell & marked them so that gluing is easy.
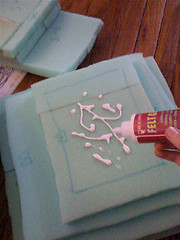
You can see where I traced the next layer on for placement. This also helps with where to put the glue, helps keep mess to a minimum. I then used some "Felt Glue" in the central area of the layer. This way it is enough to tack the foam together, but not enough to get in the way when carving the foam down. Once it's covered in Felted Wool, it won't come apart.
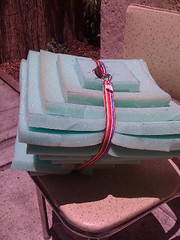
Since the foam was a little warpy, I used an old belt as a Ratchet Strap to help keep contact while the glue dried. I then set it outside and let it dry over night.
--------------------------------------
So there is the first couple of days of work on the Angler Fish. He doesn't even resemble a Fish yet, but hopefully tomorrow I will have some pictures that will help! Next step is to carve down the foam into the basic shape of the fish... then... felting time!!!
No comments:
Post a Comment