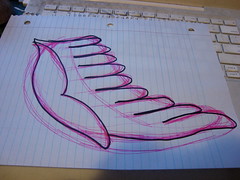
I started by sketching a pattern for the wings. I wanted both to be the same, so I made a drawing to cut the wool-felt from.
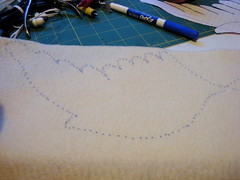
I traced the pattern of the wings on some pre-felted white wool. This is my new favorite material to make things go faster. Instead of felting wool from scratch into a thin shape, I just use the pre-felt & needle on top!!
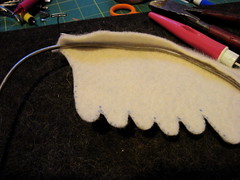
I want one of the wings to come off the base into 3d, so I felted the armature wire into the wing. This helps with support & posing.
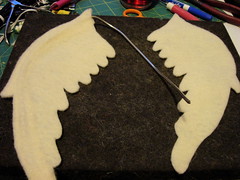
Both wings all cut & ready for color!
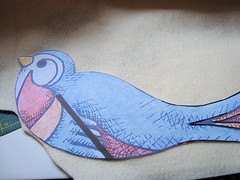
I used my handy new PhotoShop Elements to scale the original concept drawing up to the size of the wings. I like the shape of the body that I drew before, so I just printed it out to be able to use as a pattern.
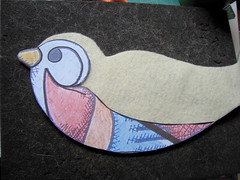
This is another great reason to have the pattern. I cut it up to insure the shape & placements of the different colors.
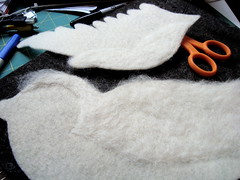
I wanted the blue color on the body of the bird to be slightly thicker than the rest, so I just added a layer of white wool to add a little bulk.
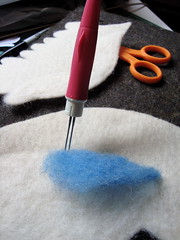
Time to start the color!!!
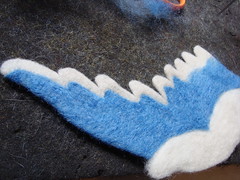
I'm a sucker for some nice clean lines & graphic elements in my pieces, so I took the time to sculpt in the colored highlights. I wanted to have some white at the bottom of the wings.
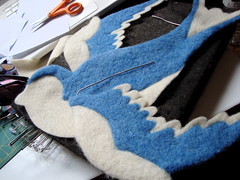
After much needling, I finished all the blue! It was alot of needling!!
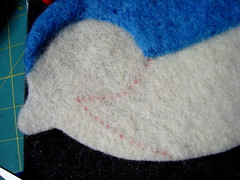
I then used the body pattern to sketch in the placement for the red under-belly color.
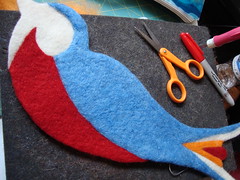
Fun color on the body is done!
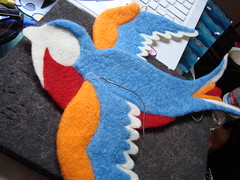
All the color is done! Looking good!
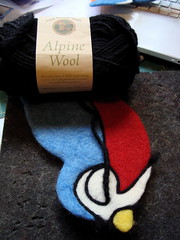
Time for the line detail! Just using my handy black wool yarn to felt in the bold black lines around the shapes...
It was a long day & I'm done working, but he is coming along nicely!!

So cool! He is going to be beautiful!
ReplyDelete