
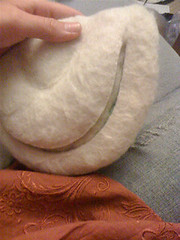
Still working on finishing up the harder lines that I cut into the felt. I cut into areas that I wanted more of a hard line & real contrast. Sometimes you just can't get the wool to go in far enough to make the kind of shape you want, so just cut into it then!!!
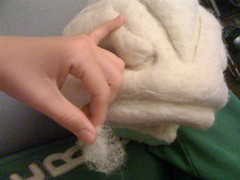
Then I took small, slightly prefelted tufts of wool to finish off the surface of the cuts. You can make these little prefelted tufts but gently rubbing a tuft of wool between your palms. I make stacks of these flat wool tufts to help speed things along. If you slightly prefelt the tufts before you start to poke, then you don't have just fluffy unruley wool hanging out everywhere.
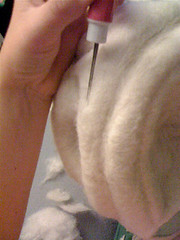
You can use this nifty poking technique to felt surface wool. Poke at a severe angle to the surface of the piece. This angle allows the needle to only felt the very top wool fibers without shaping and smooshing the wool down. If you poke outwards from the tuft you put on, it also helps blend the edge fibers into the background so you don't have hard lines and splotchy patches.
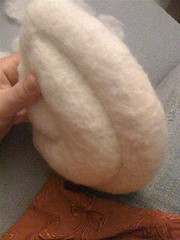
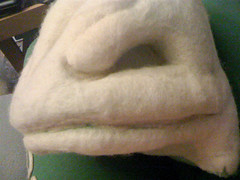
I also finished off the lower jaw to get it ready to glue onto the body. I cut into the lip area to help push it away from the chin area. Same-old same-old... cut, fill, cover, finish...
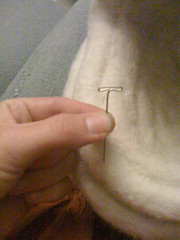
Now I'm ready to finally glue the 2 pieces of the fish together. I used some giant T-Pins as kind of staples to keep everything in place while the glue dried. Be sure to go pin into the foam from both directions along the seam so that it doesn't shift on you.
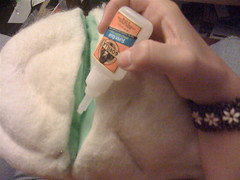
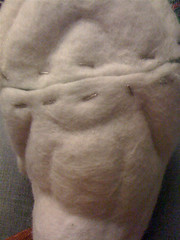
I used SuperGlue to glue the 2 pieces together. It's fairly fast drying & super strong. The only draw back is that it dries really hard & crunchy. You can't felt or needle into the glued areas after they have dried. I was sure to glue away from the outer edges so that I wouldn't run into it while patching the seam. I pinned the top side in place, glued from the bottom, pinned the bottom in place, then let it dry over night.
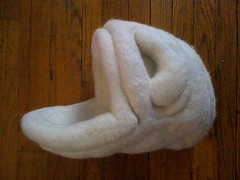
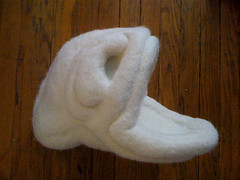
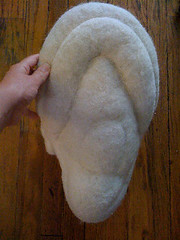
So after pretty much a whole day to patch & fill the giant seam, here he is. When I was patching the jaw seam, I was sure to overlap the "core" wool filling over the white Romney wool. This helped strengthen the seam. I was thinking of it kinda like a scab for attaching 2 pieces of wood end-to-end together. If you have 2 pieces of wood and you want to glue them edge to edge, then you line them up & add a 3rd piece of wood to the back that overlaps both pieces. It's a lot of extra work, but it's really strong & you can't even see where the crazy seam was!!!
Next.... making the fins to attach before I can dye. I'm using toothpicks as little armatures to help them stick out. I might even do a sample of the dye today to be sure I know how it works before I jump into the big guy. That is if I have time... I have an appointment to visit CalArts today. Going to take a campus tour & go to an information session of applying to the Art Graduate school. I'm not as nervous as the first time I visited UCLA, but I'm always anxious about everything, so I a bit on edge, wish me luck!!!
No comments:
Post a Comment