
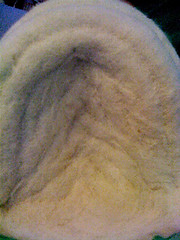
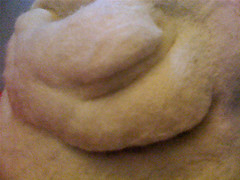
Did some texture inside the mouth. I do wish that white wool would show up in photo better. I am also using my iPhone to take the picts, so they aren't as nice as with my camera. But you can still kind of see the ridges I sculpted into the top of the mouth. I still need to figure out what I am going to do with the electronics & LED light, so I might still need to cut into it in the end.
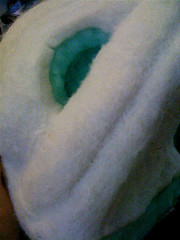
I'm basically done sculpting the overall shape of the fish, so I started to work on defining more of the details. I started with the eye socket. I went in and cut out a real hollow socket. I'm not sure if I'm going to put the eyeball in now, or wait till after it's dyed, I'm leaning towards after.
I then finished up the socket with the usual "core" wool and white Romney. I am using a thin layer of "core" wool over any showing foam because it is a bit more solid than the Romney & helps cover the green color of the foam. Plus it's a whole lot cheaper!!!
Next I was looking the fish over trying to think of some things that I could do to make it really awesome. I think there is a point in my sculpting where I could be done, it looks okay, but it's just not there yet. It's that extra step of care & detail that I put into my pieces that makes me feel like they stand out. Think of it like icing a cake. It's really easy to bake the cake & ice it, but when you take the extra time & love & care to put a couple flowers or decorations on it, even a name of the Birthday Person, it makes it that much more special!!
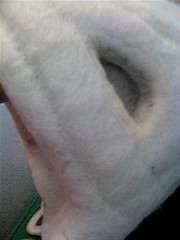
The whole fish was looking a little soft & cute, so I decided to add some harder lines in to help push some areas and make them "POP"!!
I want these areas to be kind of hard lines, so I stuffed the slices with some "core" wool. This helped push the area above the line up and push the areas behind, down. I needled the wool to make sure it works itself down into the cut and filled it up.
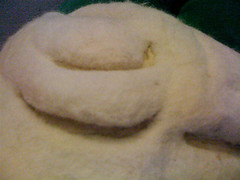
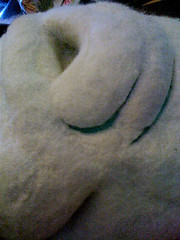
I like how these lines are turning into more Wrinkles than mounds. I like the really sharp hard line that is forming. It's helping the fish look alittle more mean.
Soft = Cute & Cartoony
Hard = Menacing & Real
I just now need to finish filling the slices & cover then with a thin layer of white Romney.
What's instore for today? Hmmm.... You'll just have to wait and see!!!
★★★★★★★★★★★★★★★★★★★★★★★★★★★★★★★
I also wanted to share the custom piece I just finished up yesterday. So there, I was slightly productive the past couple days - HA!!

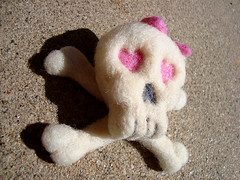
I think I turned out pretty cute. It has a magnet glued to the back too. I have another custom job in the works. A customer wants some mini CupCake (re)Gift Bags. I think that should be pretty easy, just need to adjust my pattern size & go for it. A couple small jobs are better than none!!!!
No comments:
Post a Comment