
I kinda skipped some pictures while sculpting. I usually get so caught up in concentrating that I forgot to show some needling process. So instead I will try to explain my sculpting thought process in writing. It's really not that complicated; I work in baby steps. It reminds me of when I was in school and taking life drawing. When you are drawing a portrait of a person, you don't draw the face, shade it, and finish the details, then move onto the neck, then move onto the arms, and then skip down to the legs, then back up to the body. If you did it that way you would end up with a deformed hunchback with a lopped-sided head. Instead you usually sketch in the whole form, and then slowly keep defining and refine features until everything is in the right place, you start to shade, then you finish with details.
Divide & Conquer!!
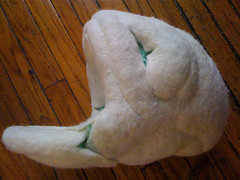
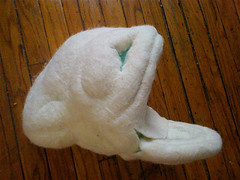
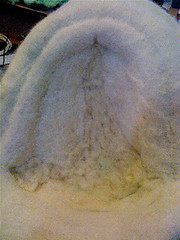
So to show that process with the fish, I started with defining the largest shapes like the eye bulges & the jaw line. Then Once all the biggest features were placed, I looked it all over and noticed smaller details to start. The eye bulges are actually divided between the brow area & the cheek area.
Think about working Biggest to smallest.
You'll know when you are done working with a specific baby step because you'll turn the whole piece around and think,
"Hmmm... what do I do now...?"
When I hit that block I know It's time to jump into the next step of sculpting smaller details.
Like when did I start defining the lips? It's when I had sculpted all the larger areas & noticed that the lips looked giant and dumb. So then you just have to jump head first and start blocking in the lip line. I needled a line in where I wanted the lip line, then just kept working at it till it pushed back the underside.
Sometimes I jump around the piece working the whole thing at once, I place in the lip line, then jump back over to the under belly & slightly define some detail there, then back to the lips, then into the inside of the mouth because that will help push the lips out, then work the top of the head cause that will push the head down. You have to work at little bit all around, keep turning and working.
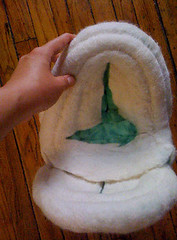
Then sometimes you get to a point where you absolutely have no idea what to do next... That's when I do something that I know needs to be done, like filling in the gaping hole in his mouth. This allows you to step back, take a break, then go back to sculpting.
I first stuffed some "core" wool into the seam. I wanted to be sure to fill it in really well so that it would be seamless.
I needled the "core" wool in very well, then added more in layers to be sure it was completely filled.
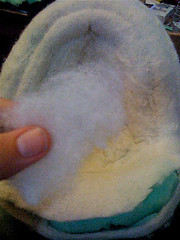
Then I took some tufts of the my white Romney to cover the "core" wool and finish the seam off.
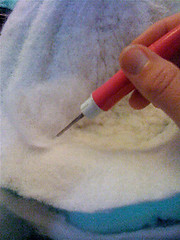
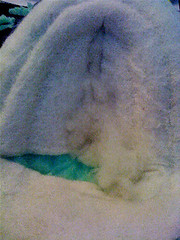
Needle, Needle... Poke, Poke... I changes my needle to a couple 38 gauge needle. 38 gauge needle are the ones I use the most. They can really work deep and help sculpt form, but they are also fine enough to help finish the surface of the wool. Eventually I will move to the 40 gauge needles. They are the finest needle and can only be used for the surface and tiny details. They don't push enough wool around to really make any progress with shaping.
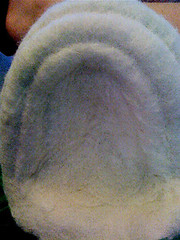
There! All Fixed!!! That's why I wasn't that worried about cutting into the felt & showing the gaping seam with foam underneath. I knew that I would eventually get around to filling it & you can't even see it! And the weird wrinkly texture that I got from covering the seam normally would bug me, but instead it gave me an idea for texturing the inside of the mouth with some ridges. Sometimes when things don't look that great, it can give you an idea that will not only hide the mistake, but also make the piece that much better!!!
I think today I will keep working on sculpting & defining details. I might even attach the lower jaw, but not till I'm almost done cause it is much easier to work on without it. I will have to wait till my mom sends me the steamer I asked her for before I can dye it, so I have a few days to keep making him look awesome!!!
No comments:
Post a Comment