

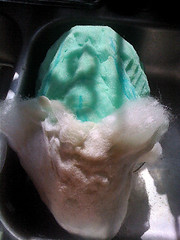
So here's the foam base all ready to wet felt. Seems all easy & breezy starting here, just add some felt (I did a small sample of wet felting on top of the foam)....
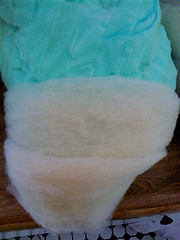
I started by wrapping some "core" wool around the foam all going in the same direction. I decided to work in sections so I started with the tail cause it was kinda small & manageable.
Next I wrapped some Romney Felting Wool around the tail in the opposite direction. I think the alternating directions helps with creating a solid even piece of felt. I tried to make each layer even... at first... I didn't realize how much wool I would be using!!!
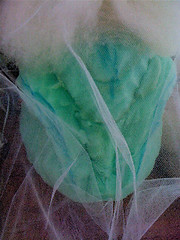
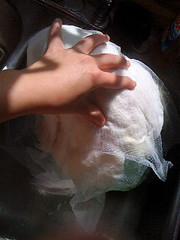
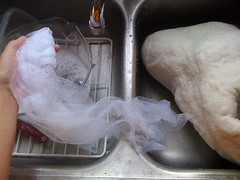
Now I wrapped the wool in some Tulle Fabric that I bought to use as netting. This helps keep the fluffy wool in place while you wet it down & start the felting process. If not, then the wool will get all clumpy & uneven... which I learned later on...
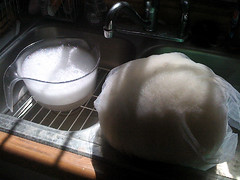
Now it's time to add the hot soapy water. I was working in my sink cause the fish is small enough to contain the mess.
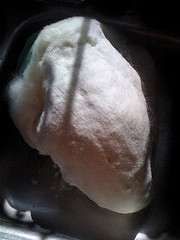
Starting to massage & rub, rub & massage. At this point it is still going really well!! I felted the wool section until it seemed solid enough not to pull apart.
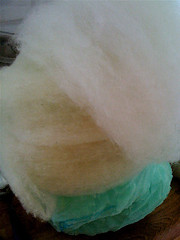
I left the edges of the sections dry so when I add the wool for the next section, then felt together really well. I found with the sample that I made, that the wool felts best over the foam base if it is completely encased in wool, then it will shrink up and tighten around the form. It's still all loosey-goosey at the stage, so I just kept adding sections.
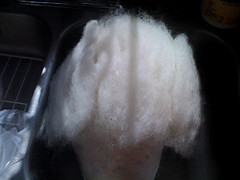
I added more "Core" wool & Romney for the next section, covered it in the netting, and Scrubbed & Rubbed some more...
The top of him was easy to felt, it was when I got to his thinner jaw & inside his mouth where I started running into problems. I think it is just a complicated shape that I didn't really think through.

I did get all of him covered, but if you look closely you can see how the inside of his mouth is all lumpy & he just looks kinda like a melted piece of bubble-gum. Now the fulling starts, which I hear is the longest & hardest part. I'm just used to wet felting small things like soap, so I didn't realize how much felting this MONSTER would take.
I started to get desperate to felt faster (it had been about an 1 1/2 hours by this time) so I tried using the netting as a kind of scrubber. This seemed to work somewhat.

Scrubb & Rub... Scrub & Rub... Scrub & Rub... Scrub & Rub...
So then after 2 hours, I couldn't felt anymore. My back hurt & I was getting frustrated. So I stopped for the night & will start up today. He is still not felted very tight, so I think I'll just need to keep going at it. Lance came up with a great idea when it comes to the Jaw & Mouth problems. He suggested cutting the jaw off & felting it as a separate piece. I think I might do that to help keep the felting manageable. Now I just need to work on the problem of adding wool to an already felted piece. When I tried to add some fluffy wool to the sparse areas, it just felted itself, sat on top, and fell off. If there are any wet felting geniuses out there I could use some advice. I guess I should have done some more practice before I started.
But that's the point of making this kind of process journal. You get to see the mistakes & learning process that I am going through!!!
I am no expert so if this suggestion souunds weird ignore me :p Have you considered partially needle felting an add-on piece before you try to wet felt it. It should help get the piece to attach to whats already there shouldn't it?
ReplyDeleteThanks! I definitely will be doing my share of needle-felting!!! I just figured wet felting the wool on at first would help covering the foam go a little faster. The wet-felting is just a beginning step. I will be reevaluating the process for next time though! Thanks for the suggestion!
ReplyDelete