
Airbrushing some Chocolate Frosting!!!
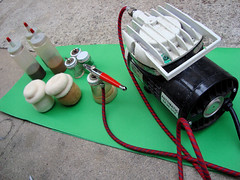
Here are all the supplies you need to help paint & shade your Felted Sculptures!!
*Airbrush, Compressor, & bottles
*Watered down Acrylic Paint
*Yummy Felted Cupcakes!!
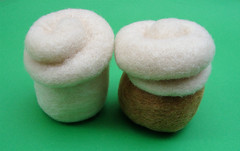
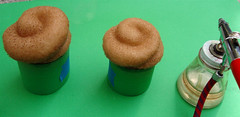
This is what the cupcakes look like BEFORE any paint has been sprayed. Just plain white frosting all ready to be transformed into Chocolate!!
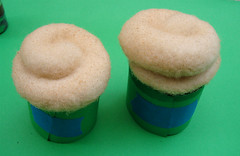
I didn't want to get any over-spray of the brown onto the "cake", so I put a little paper & masking tape to cover that part.
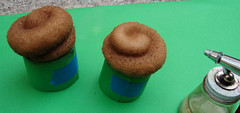
First layer of color a warm yellow!!
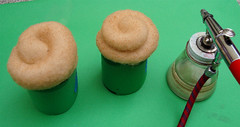
I like to paint in light layers of many different colors. I think this gives the colors more depth instead of just blasting a single color on to the wool. Also if you get to much acrylic paint onto the wool, it tends to bleed & get a little crunchy.
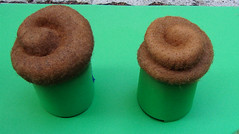
Slowly getting darker & darker!! Going from the yellow base to a warm brown.
Starting to look like chocolate with the darker brown!! This could pass as a Milk Chocolate, but I want a darker frosting.
Working with the darkest (almost black) brown to add some dark shadows within the twirl.
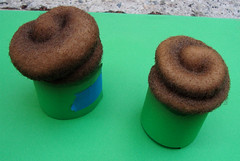
Yummy Yummy!!! Looking Delicious!! Love the dark shading in the creases!!
Almost done just need....
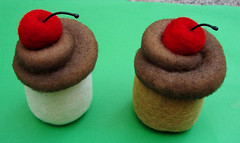
Cherries On Top!!! Yea! All done!
Oh my goodness! So cute and the process was fascinating! (Is it time to eat them now? Please?)
ReplyDelete